How to Clean Your CNC Machine & Replace Coolant for Maximum Efficiency
Regular cleaning and coolant replacement are essential for maintaining your CNC machine's efficiency, accuracy, and longevity. Here's the best step-by-step process to clean your CNC machine and replace the coolant properly.
Step 1: Power Down the Machine
✅ Turn Off the CNC Machine - Ensure the machine is completely powered off and disconnected from the power supply for safety.
✅Wear Safety Gear - Use gloves, safety glasses, and protective clothing to avoid contact with coolant residues and metal chips.
Step 2: Remove Chips & Debris:
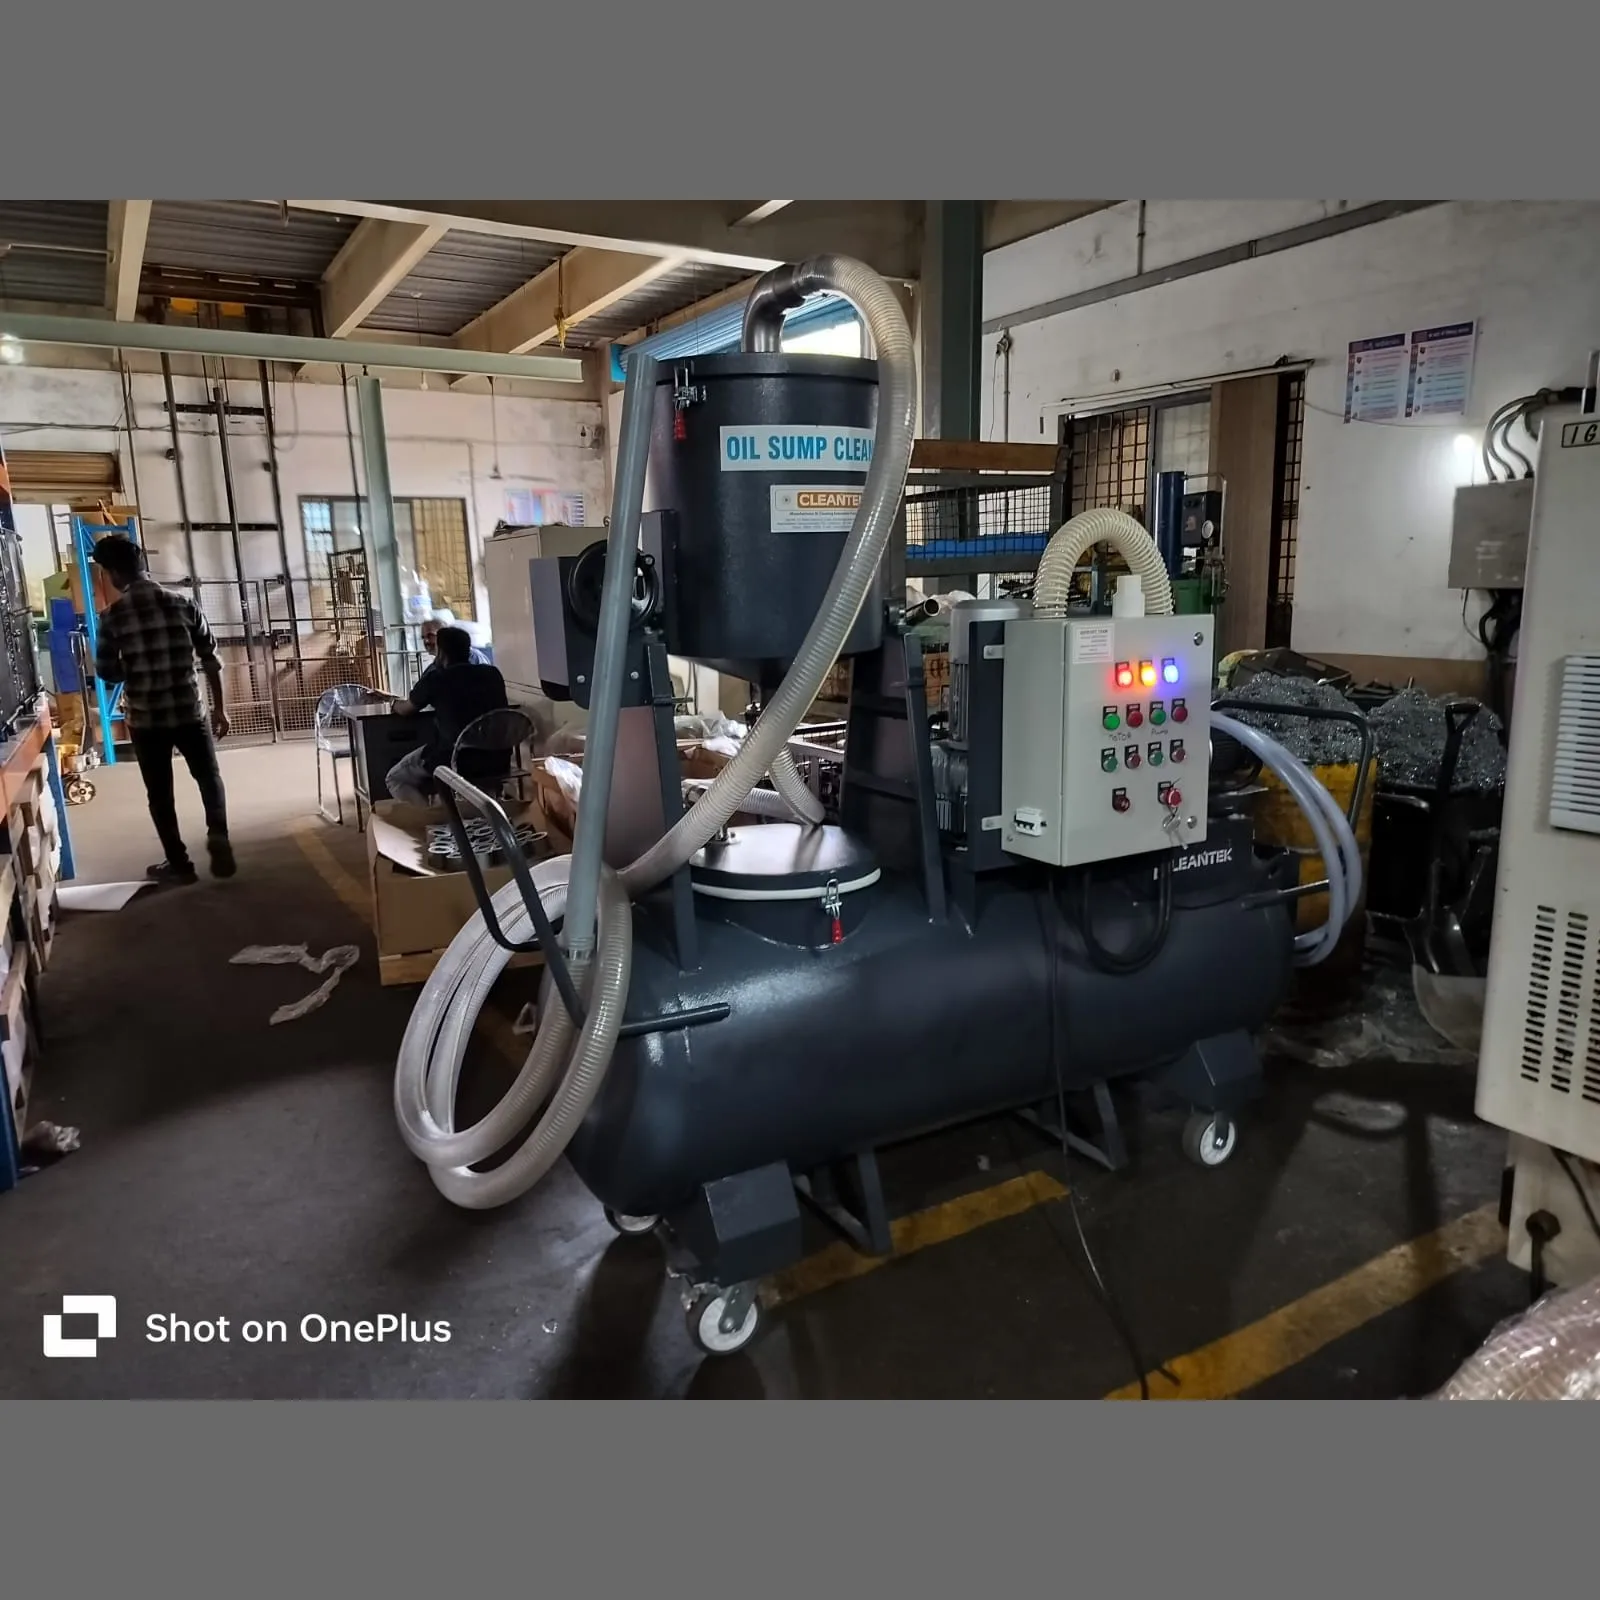
🔹 Use an Industrial Vacuum Cleaner - A high-powered CNC industrial vacuum cleaner (like Cleantek oil mist & chip collector) efficiently removes metal chips and fine dust from the machine's bed, enclosures, and coolant tank.
🔹Blow Out Hard-to-Reach Areas - Use a compressed air blower to remove stuck chips from tight corners.
🔹Wipe Down Surfaces - Clean surfaces with a lint-free cloth and a mild degreasing solution.
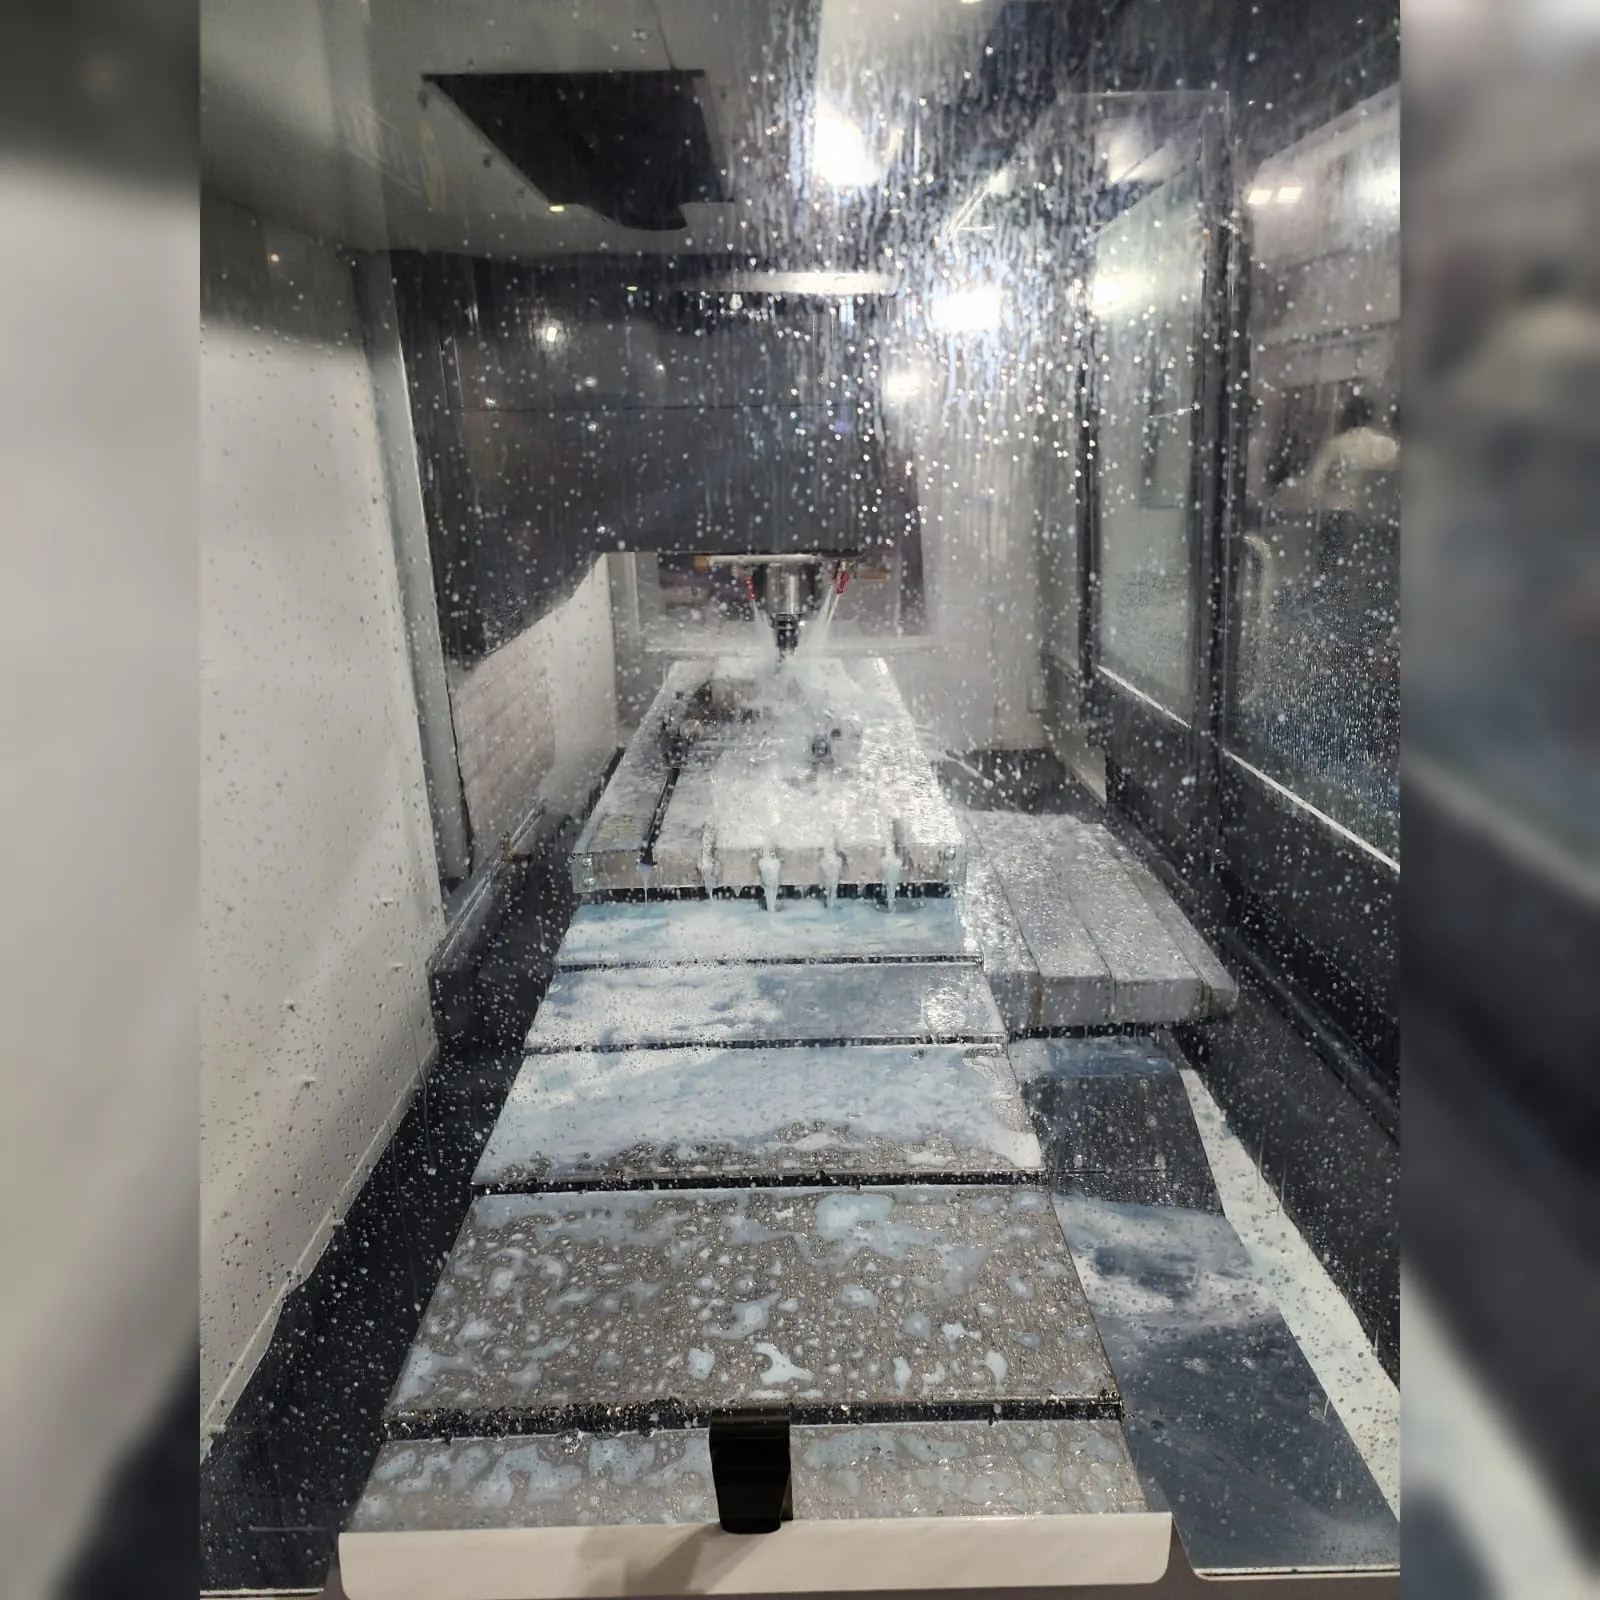
Step 3: Drain the Old Coolant
💧 Pump Out the Coolant - Use a coolant vacuum cleaner to completely extract the used coolant from the reservoir.
💧Dispose of Old Coolant Safely - Follow local environmental regulations for proper disposal.
Step 4: Clean the Coolant Tank & System:
🔸 Scrub the Tank & Lines - Use a brush and a non-corrosive cleaning solution to remove sludge and bacterial buildup.
🔸Flush with Water or Cleaning Solution - Run clean water or a specialized CNC machine cleaning agent through the system to remove contaminants.
🔸Dry Completely - Use compressed air or a clean rag to dry the tank and internal parts before refilling.
Step 5: Replace with Fresh Coolant
✅ Choose the Right Coolant - Select a high-quality CNC coolant that matches your machine's specifications.
✅Mix Coolant with Water - Follow manufacturer guidelines for the correct coolant-to-water ratio.
✅Refill the Tank - Pour the new coolant into the machine's reservoir.
✅Run the Coolant Pump - Circulate the coolant through the system for a few minutes to ensure proper flow.
Step 6: Final Inspection & Maintenance
✔️ Check Coolant Flow & Pressure - Ensure there are no clogs or leaks.
✔️Inspect Machine Components - Lubricate moving parts and check for wear and tear.
✔️Monitor Coolant Condition - Regularly check coolant concentration and pH levels to maintain optimal performance.
Why Use Cleantek CNC Coolant Vacuum Cleaner?
🔹 Efficient Coolant Extraction & Filtration
🔹Removes Metal Chips & Oil Mist
🔹Increases Machine Lifespan
🔹Improves Shop Floor Cleanliness
By following these steps, you ensure better cutting performance, extended machine life, and a cleaner work environment. Need an efficient coolant vacuum cleaner? Contact Cleantek today!
